Archive
This post is archived and may contain outdated information. It has been set to 'noindex' and should stop showing up in search results.
This post is archived and may contain outdated information. It has been set to 'noindex' and should stop showing up in search results.
Minecraft Beginner Guide With Video
Mar 15, 2011PC GamingComments (5)
 Minecraft is a game about mining, building, exploring, crafting, and surviving. There is something for everyone. You can build huge structures, decorate to your heart's content, explore dark caves, mine blocks and ores to craft with, build railway systems, and much more.
Your First World
You'll want to get acquainted with Minecraft in SP (single player) survival before you go online. So go into SP and start up your first world. After it loads, you'll be thrown into a brand new world, unsoiled by humans or industry. The game starts during the morning, so you'll have a lot of daylight to do stuff before the first nightfall.
Some beginner guides might recommend switching difficulty to peaceful while you learn, so you don't have to worry about the monsters that come at night. Don't do it; it will make you weak, and it takes some of the fun out of the game.
Learn the controls
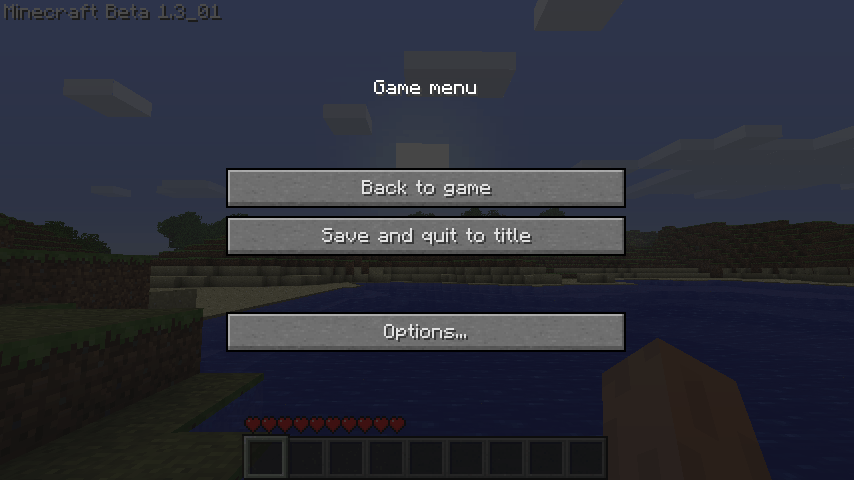 Before you do anything, pause the game by pressing [Esc], go into Options, then Controls. There aren't too many key bindings so you should be able to pick them up quickly. Pay special attention to your Inventory binding. I use "E" for mine as it's close to the WASD keys, but the default is "I". You can change it to whatever you'd like. Note: While you're at the menu screen, the game is paused and time does not move forward in single player. However, on the inventory screen and when playing multiplayer time does move forward.
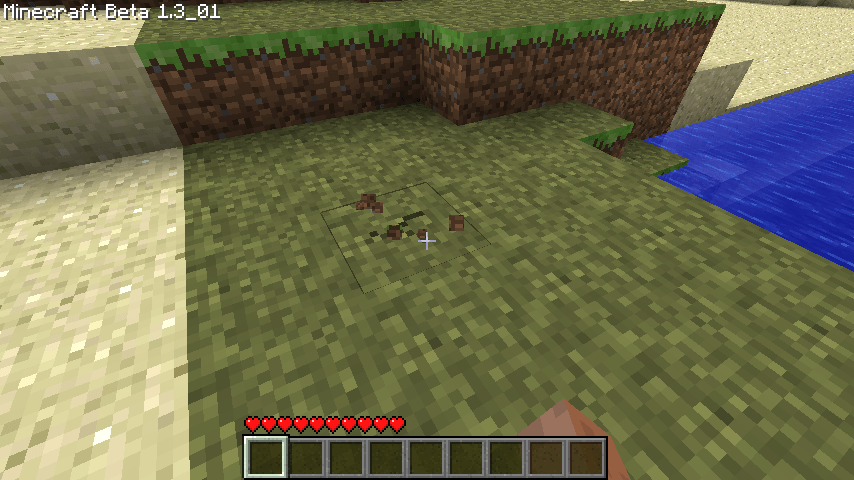
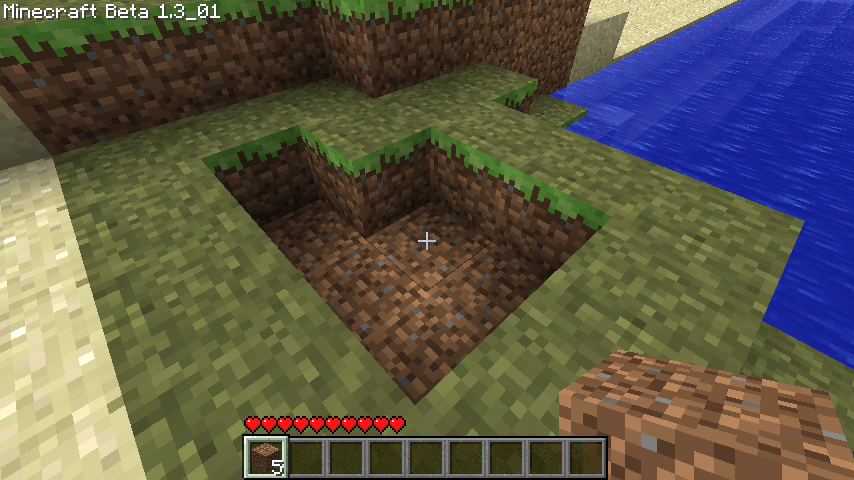
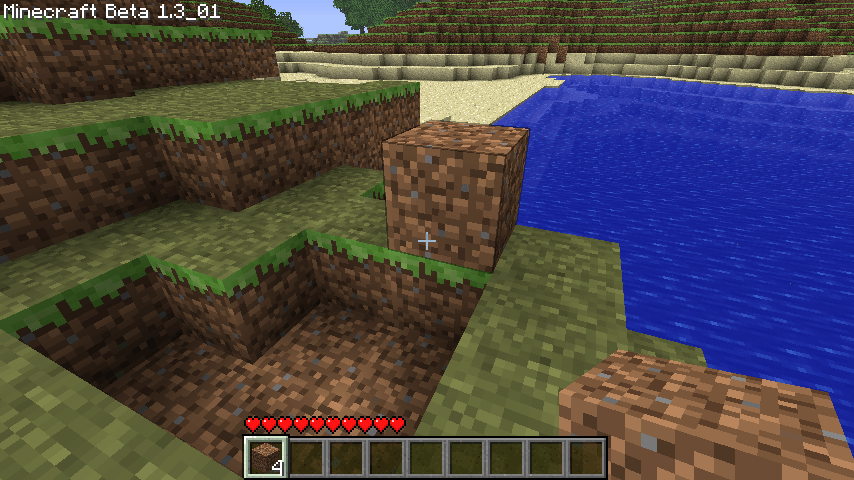
Now that you're accustomed to the controls, you need to learn a bit more about the Minecraft world. The world is entirely made up of blocks. The ground, mountains, trees, and water are all blocks. If you're close enough to a solid block (dirt, stone, wood, etc) and your cross-hair is over it, you'll see it has a black outline. This means you can either mine it or add a block to it. Do this now with a ground block near you. Hold down the left mouse button and you will mine it. Mining with your bare hands takes time, so be patient. Once the block "pops" you can pick it up and it will go into your inventory. Mining several blocks and picking them up will create a stack of those blocks in your inventory. Dirt can be stacked up to 64. Try mining several blocks of dirt.
Navigating the Inventory
Now that you know how to mine blocks, you should figure out how to use your inventory. Pressing the inventory hotkey will bring up your inventory. Your inventory is made up of 27 slots and 9 active slots (at the bottom). The active slots are visible whether your inventory screen is open or closed, and contain the items and blocks that you can use by clicking. You can use the mouse wheel to scroll through your active inventory slots when the inventory screen is closed. With the inventory screen open, you can move items between your regular inventory and active inventory as you would normally move things about a graphical interface.
With some dirt blocks in your active inventory, and the blocks selected, you can place them using the right mouse button. Move the cross-hair over any block and when you right-click, you will place one of the blocks out of your inventory back into the world. Notice that the face of the block you're looking at will be where the new block appears, and you can't place a block if you're standing in the way.
Gathering Wood
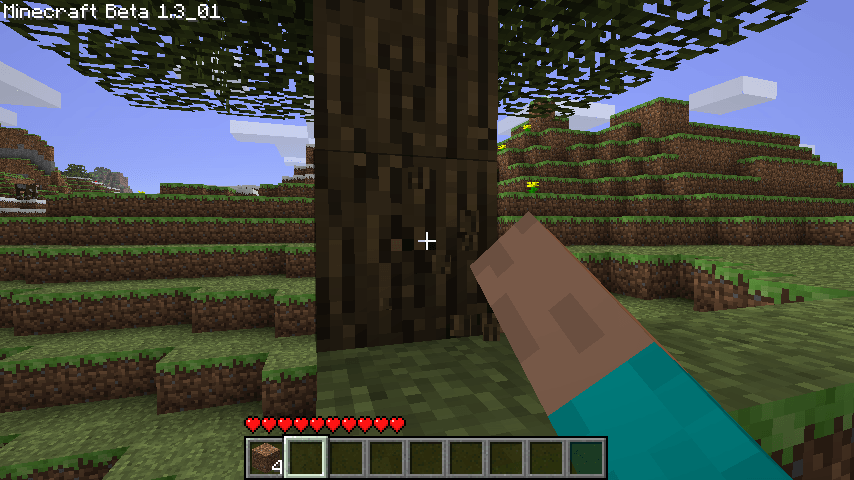
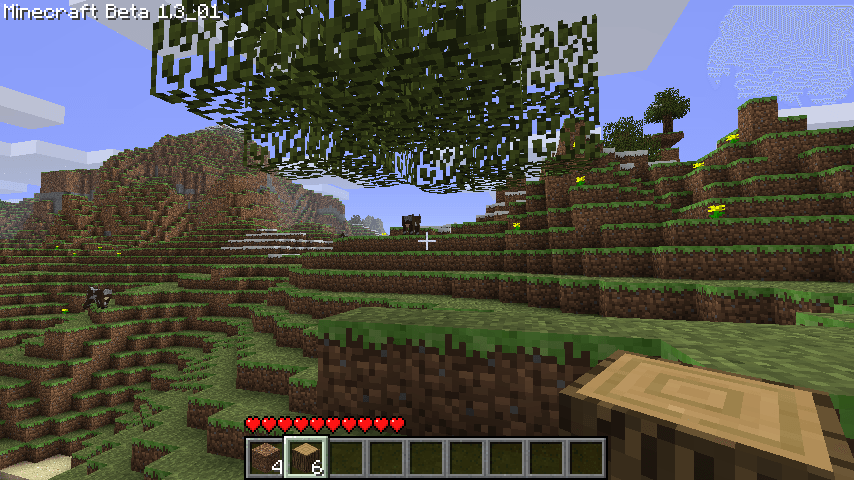
Now to make some tools. Most tools require wood, so go find the nearest tree and start mining its trunk (don't worry about the leaves). It will take quite some time to mine each block with your bare hands. Gather 5 or so blocks of wood.
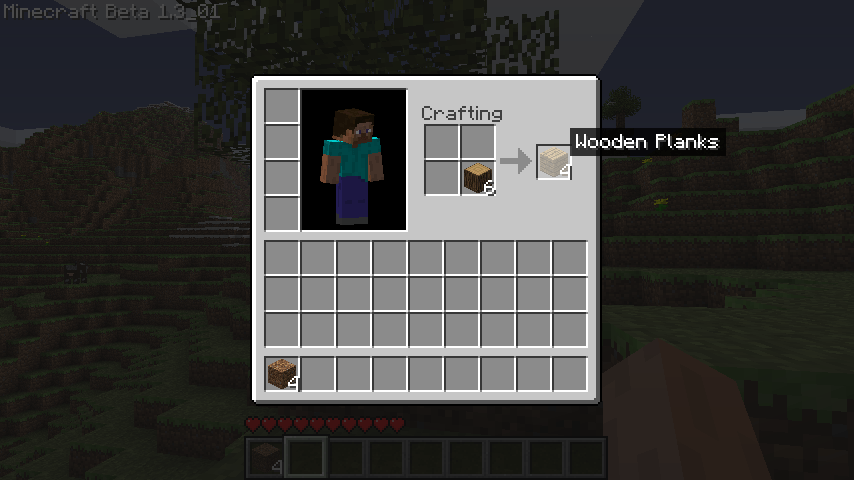
Once you have mined 3 or 4 wood blocks, open up your inventory and place them into your crafting square (in a single stack). You'll see wood planks appear next to it. Left-click those until you've converted all of your wood blocks into wood planks.
Crafting
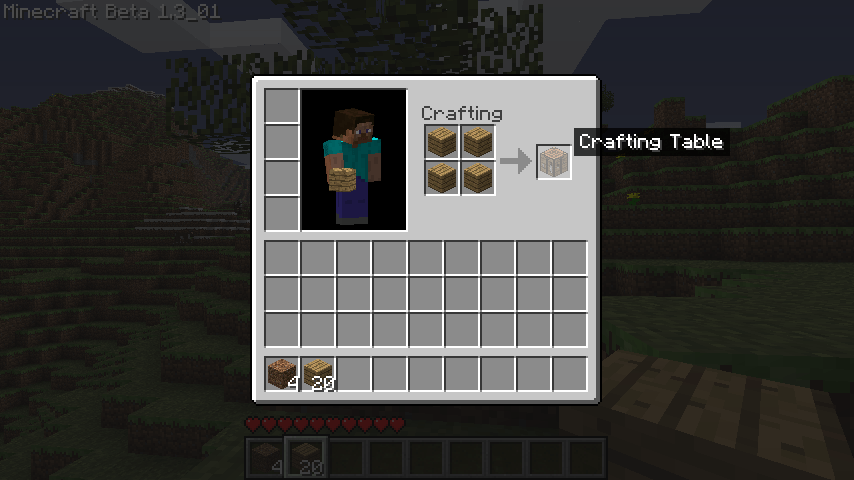
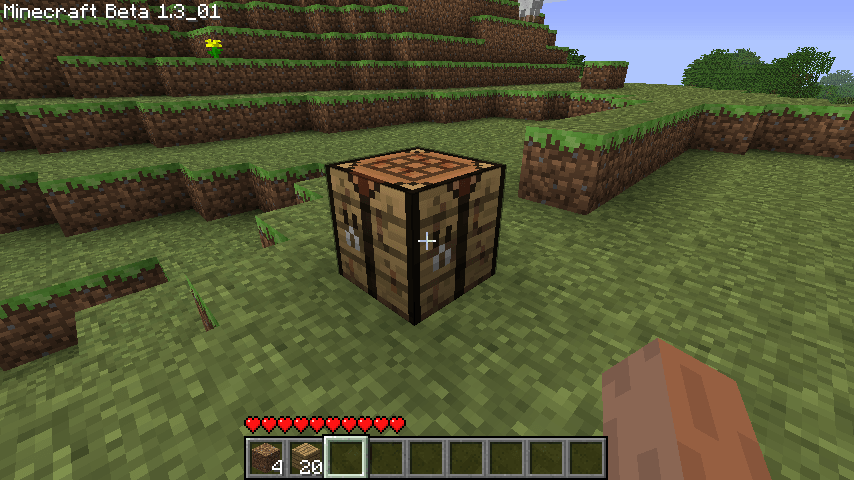
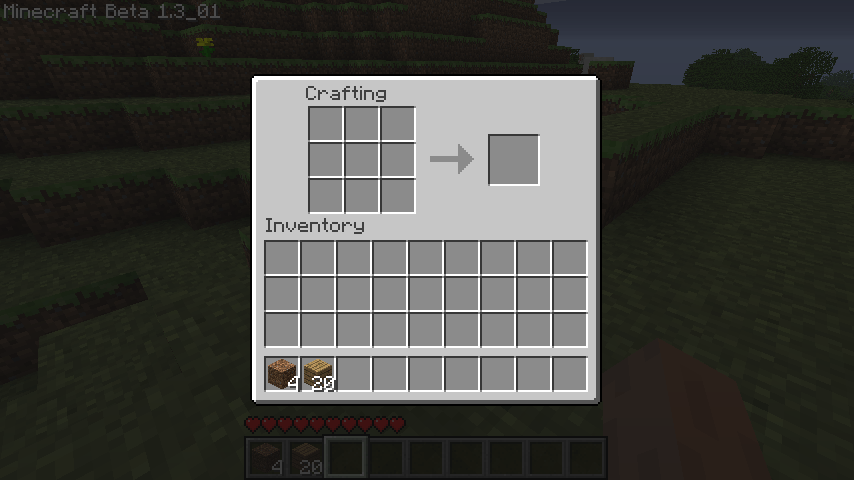
Now put one wood plank into each square in the crafting square, and you should see a Crafting Table appear. Click it to create it, then put it into your active inventory and place it somewhere in the world (you can mine it to reclaim it and move it later if you want). Right-click it and you can now use a 3x3 crafting square, which will allow you to make a lot more things that won't fit in your smaller inventory crafting square.
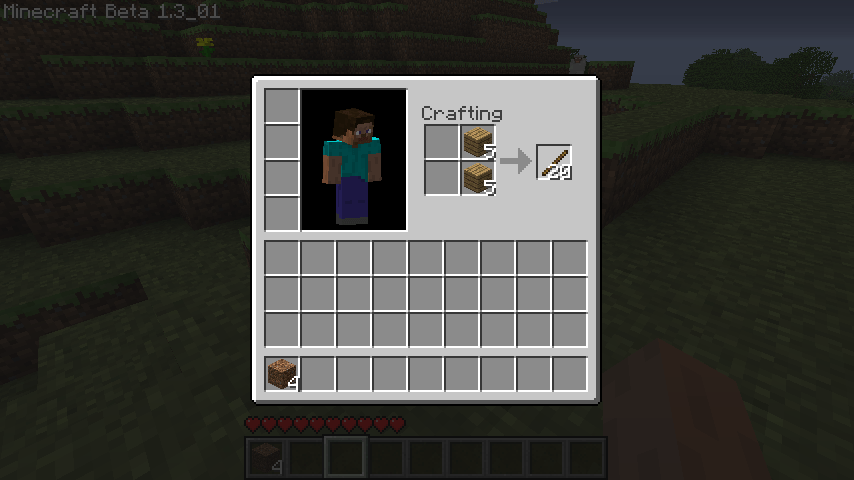
The first things you'll want to make are a shovel, pick, and axe. To do this, you need wood planks and wood sticks. You already have wood planks. To create some sticks, put wood planks into a crafting square in two stacks on top of each other (note that how blocks are positioned in the crafting square makes a difference). You should see some wood sticks appear. Click 5 or so times (do not convert all of your planks, as you will need some).
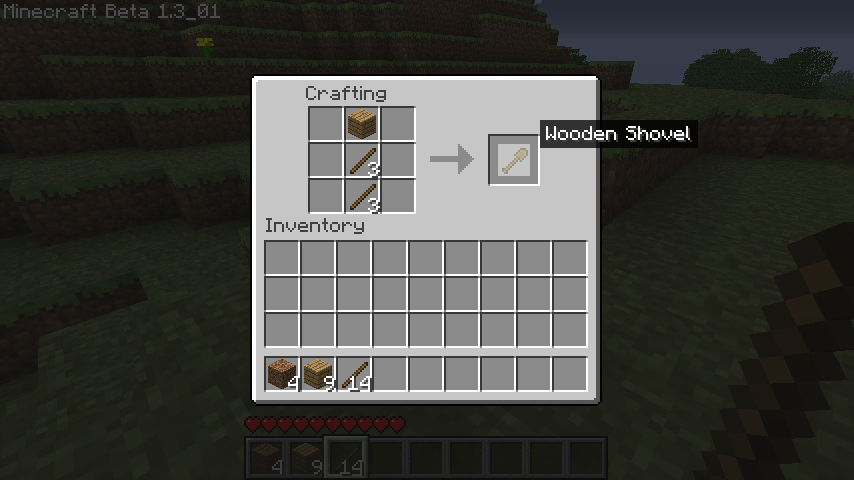
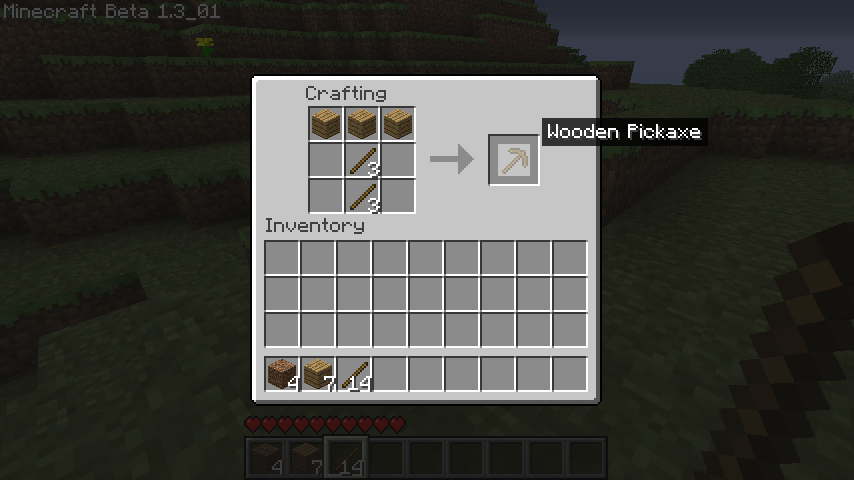
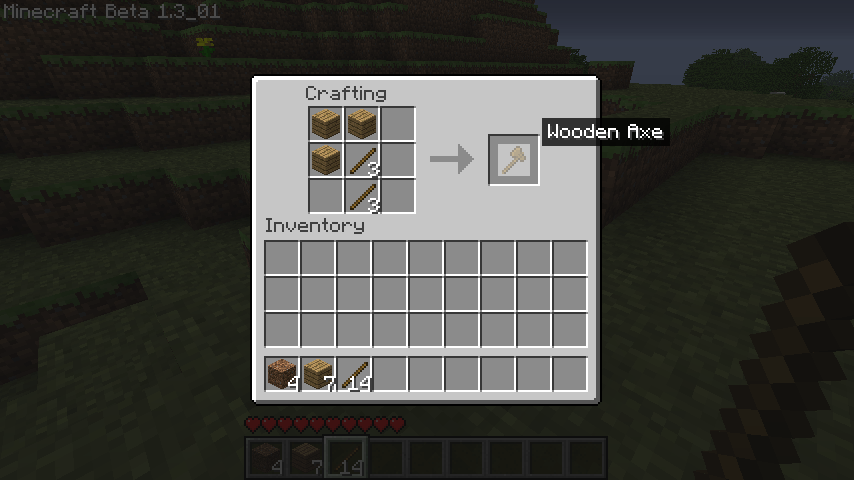
Now in your 3x3 crafting square place sticks in two stacks on top of each other, and then wood planks on top of that. See the pictures below for how to create a shovel, pick, and axe:
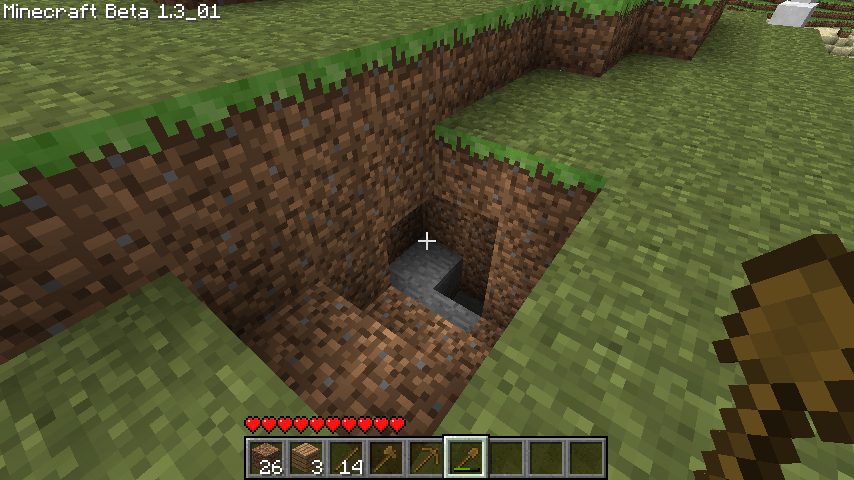
With wooden tools at your disposal, you can mine dirt, stone, wood, and other blocks much faster. Take some time to explore a bit and try mining various blocks. Learn which tool works the best. Don't wander too far though, you still have work to do before the first night. Namely, you'll want a small shelter and some torches.
The first shelter you build will probably be made out of dirt. Make sure it has enough room for your crafting table, a chest, and a furnace (which take up 1 block each), and have enough room so you don't feel claustrophobic. Spiders can climb vertical surfaces, so either make sure your shelter has a ledge or a roof. Alternately, you can just dig into the side of a hill or into the ground and make your shelter there. It really comes down to preference.
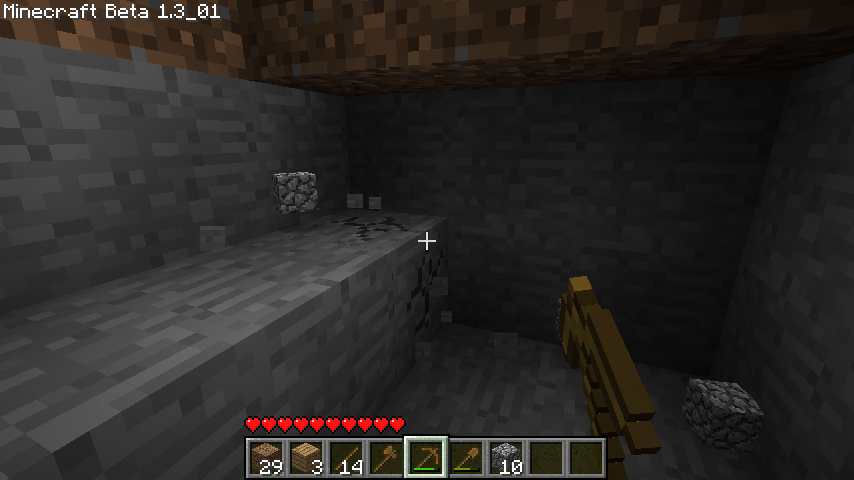
Whether you build a shelter right now or not, you'll need to get some cobblestone before the first night. Cobblestone is used in many crafting recipes, including stone tools and furnaces. If there is some stone showing through the side of a hill or cliff nearby, use your wood pickaxe to mine at least 16 blocks of it. If there is none that you can see nearby, mine into the dirt a few blocks and you should come across the stone layer. Stone is the most common block, and mining it produces cobblestone.
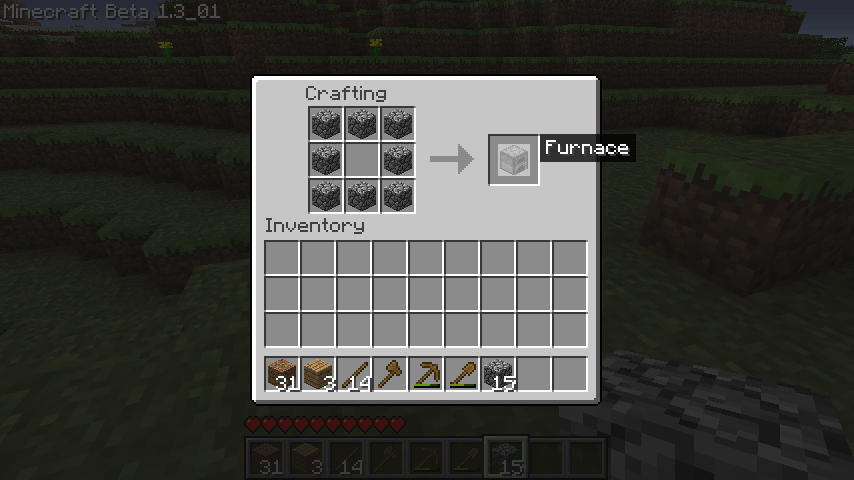
Once you have stone, you can use the same crafting recipes as above (replacing the wood planks with cobblestone) to make the stone tools. Make sure you leave at least 9 blocks of cobblestone though, for a furnace. To make a furnace, put cobblestone into your crafting block like so:
You can leave your furnace in your inventory for now, or if you've already started a shelter go ahead and place it in there just like you did with the crafting table. Now, since you probably don't have any wood blocks left (not wood planks), you'll need to cut some more trees down. Go do that now and come back when you've mined about 12 wood blocks. Do not break them down into wood planks.
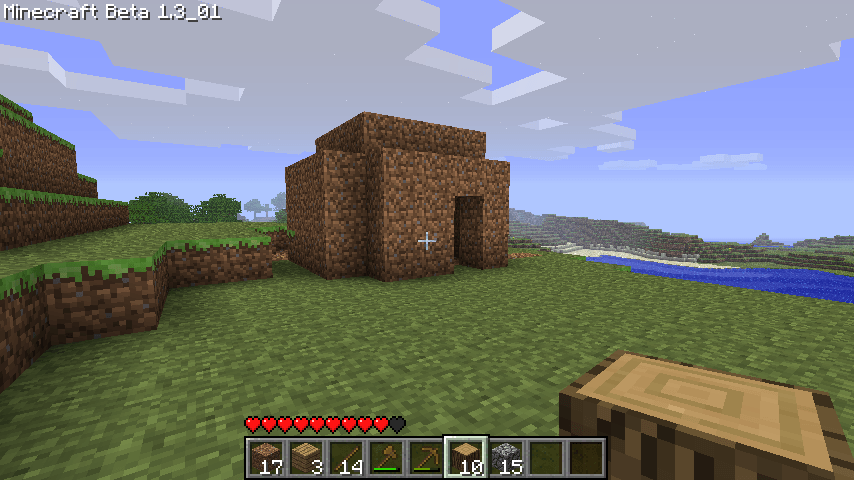
If you haven't started your shelter yet, do so now. You can either dig into the side of a hill, or down into the ground, if you want a cave instead of a house type shelter. I chose to make a simple dirt house:
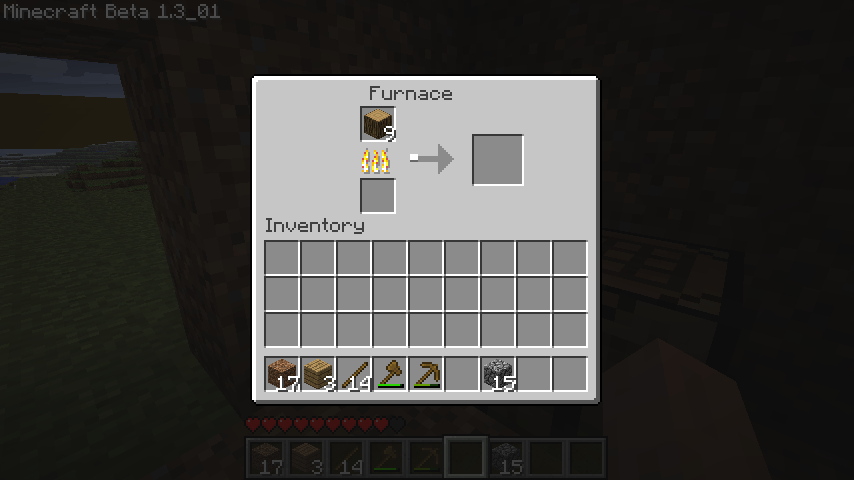
With your shelter built and your furnace placed, right-click the furnace and put all but one wood block into the top square, and one wood block into the bottom square. The block you place in the bottom square should disappear right away and the flame should start.
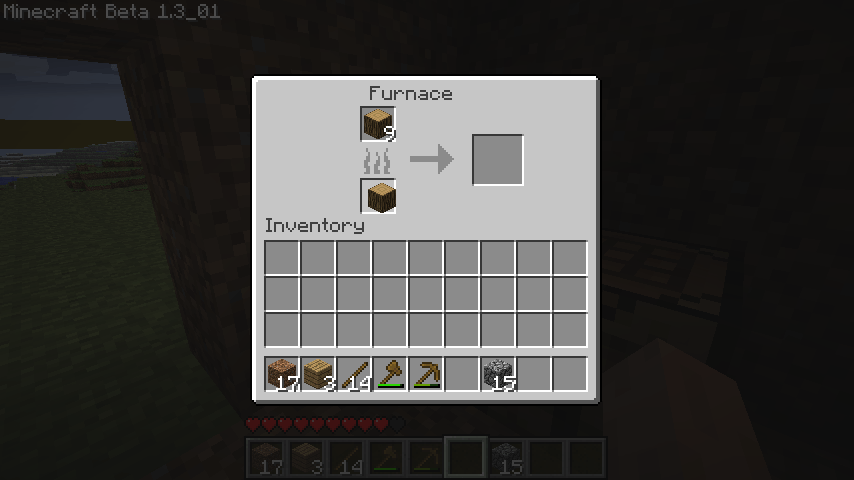
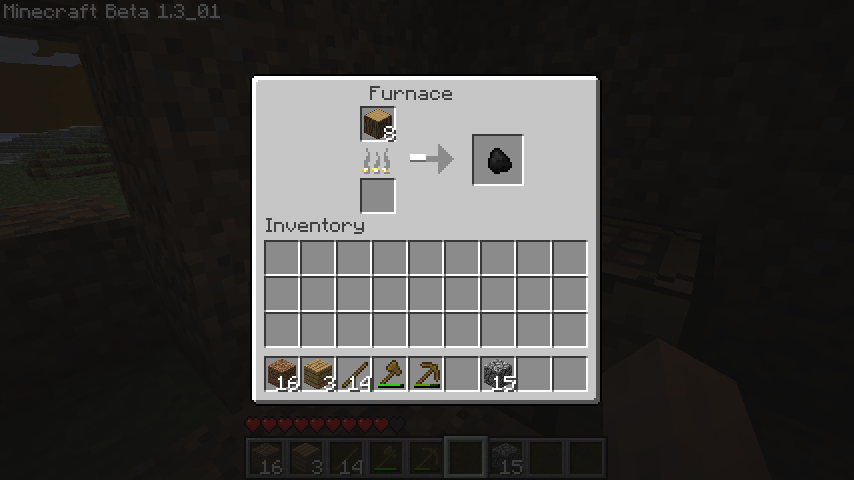
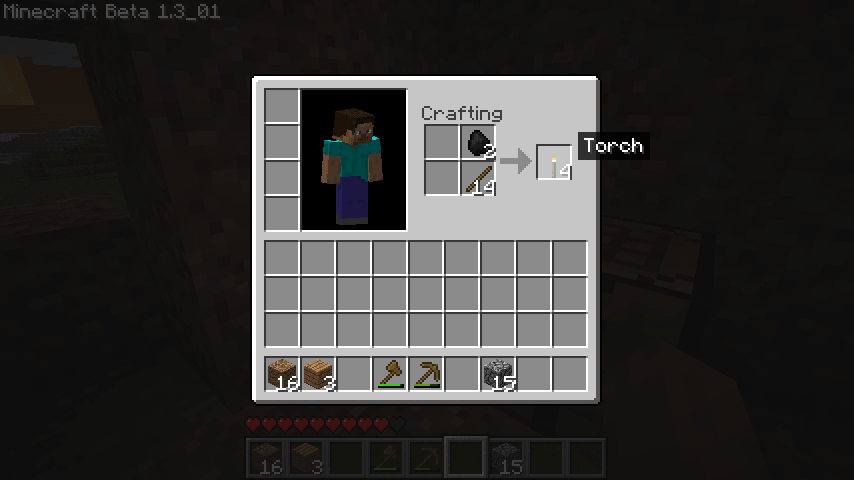
What this does is create some Charcoal. The wood block won't burn for long, but it should burn long enough to create one charcoal. Once that one charcoal is created, drag it back to the bottom square to use it for fuel. Charcoal burns much longer and should be able to crate 5 or 6 more pieces of charcoal. Once you have some charcoal, combine it with wood sticks like so to create torches:
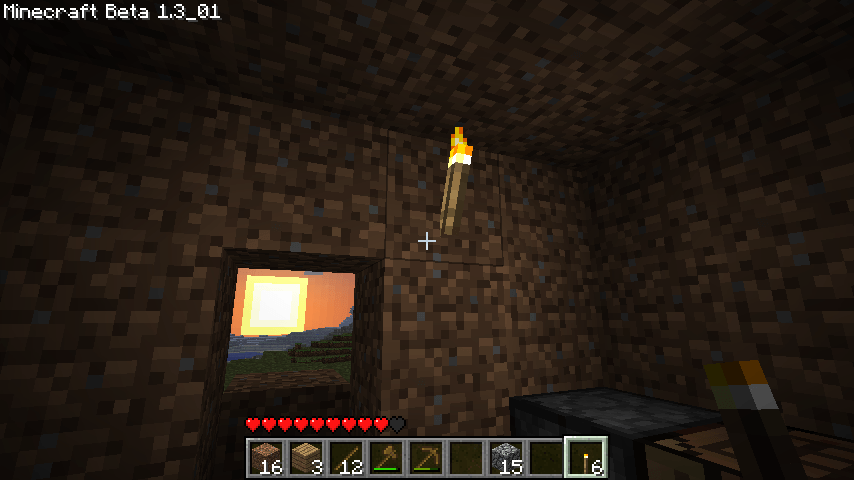
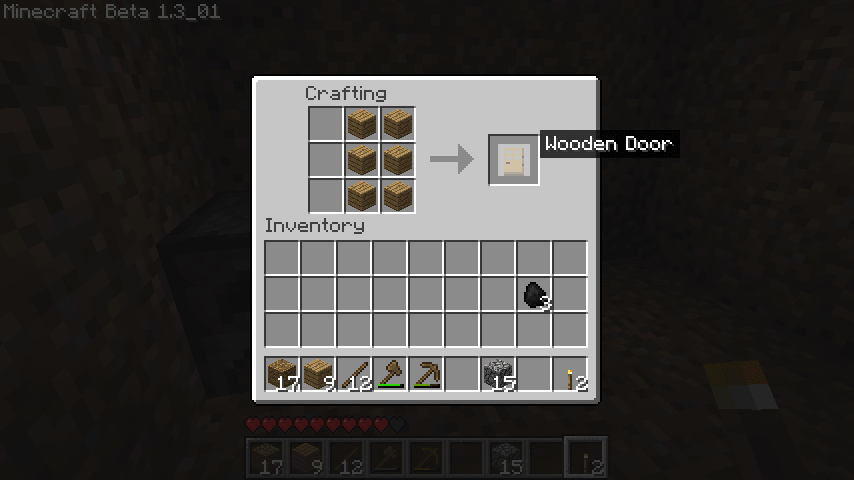
Place a few torches here and there to light things up. If all goes well, you'll be at this point before the first nightfall. You'll want to block off the entrance to your shelter and leave no more than one open block. If you have some extra wood, you can also make a door, but be careful as some enemies can shoot through the windows in doors.

There may be a creeper or two waiting outside your shelter on the next day, ready to give you quite a surprise. I won't ruin the surprise, but let's just say it's a rite of passage for all new Minecrafters.
Here is a video I did showing that you can build a cobblestone single-room mini-castle your first day with plenty of daylight to spare, as long as you don't waste any time. You probably won't get this far your first game, but it should give you some ideas into what you can do.
why no talking
hay \dud i ndo love mc i wornder if i can join
alguem pode me ajudar
o meu nao fufu
na